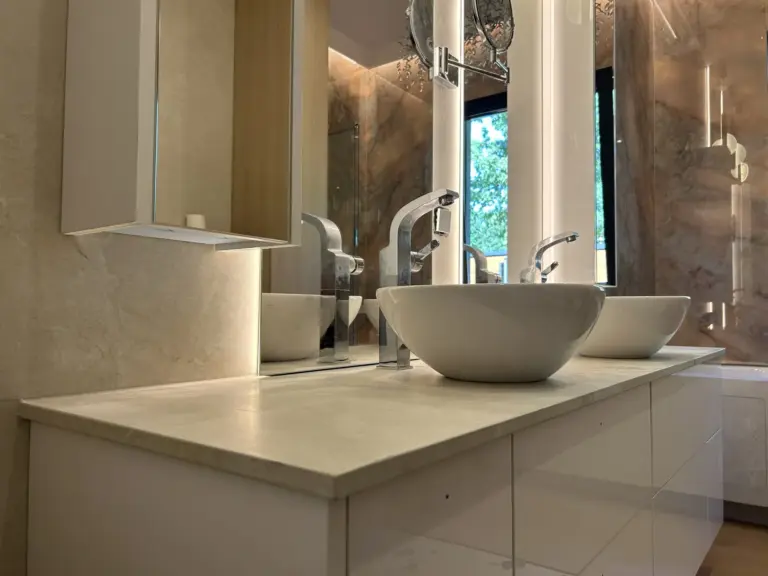
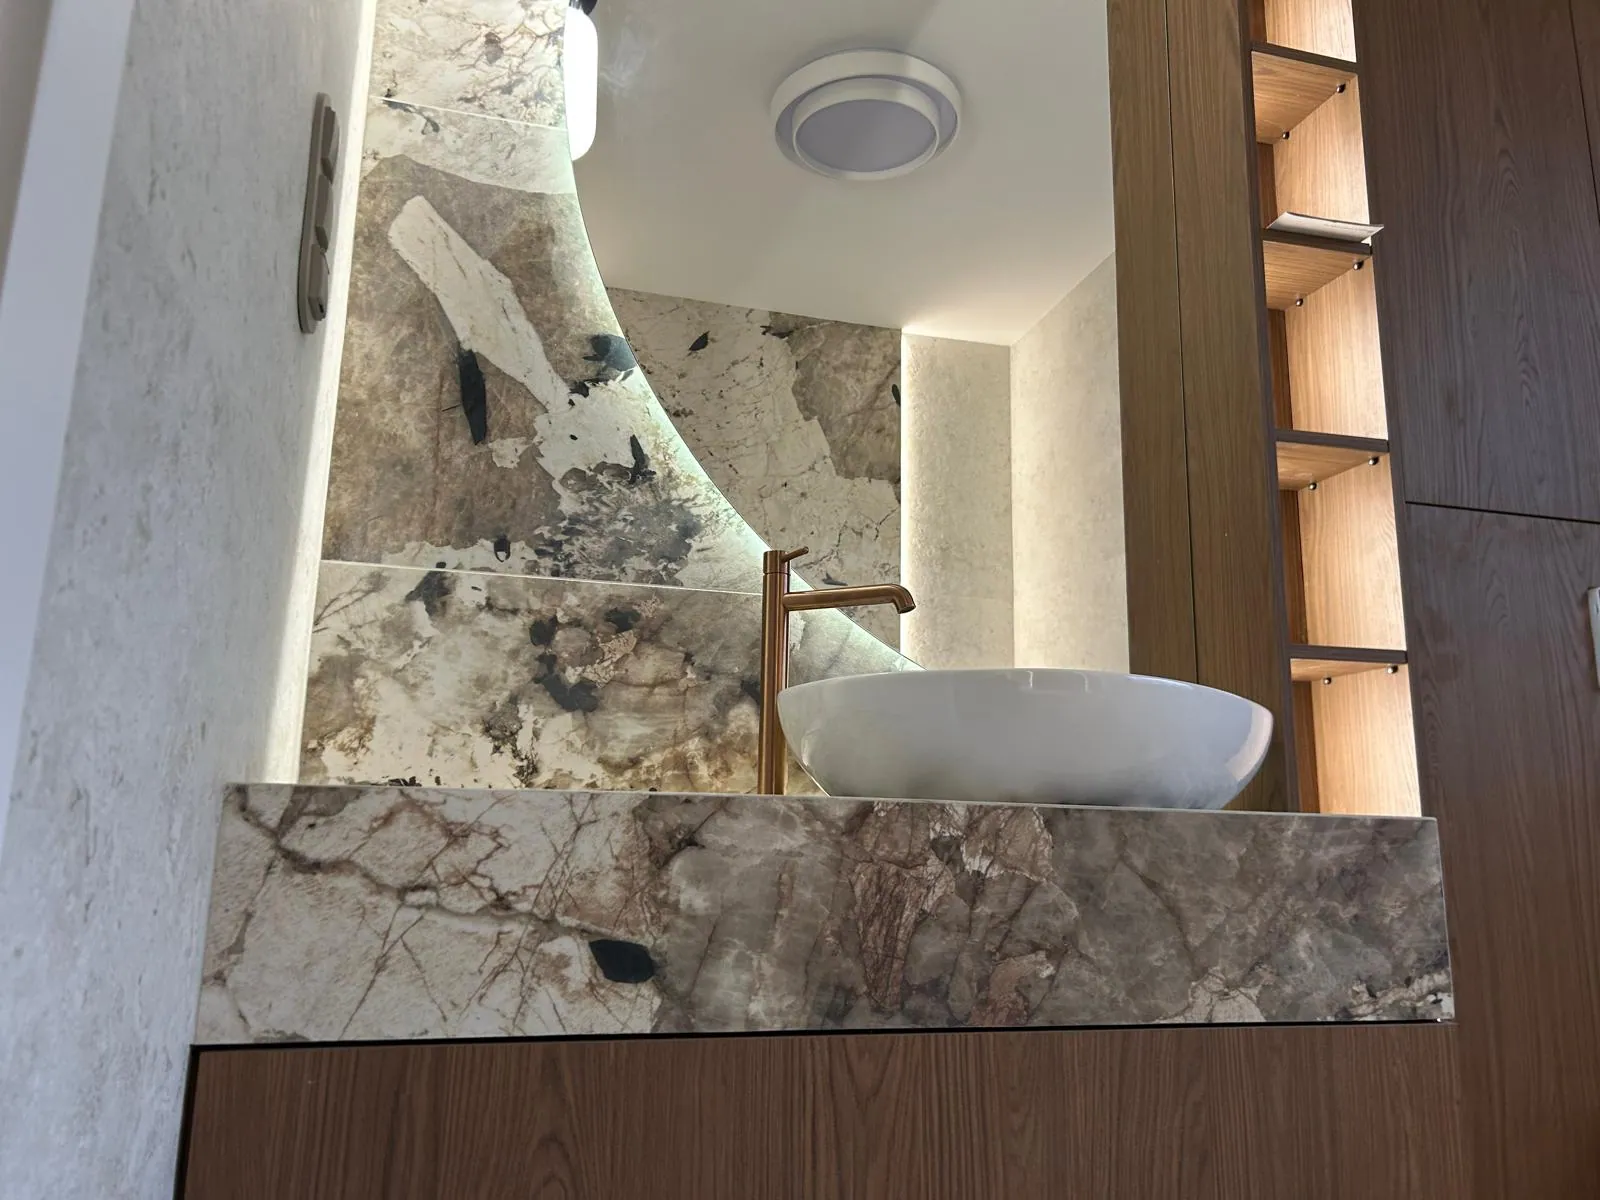
Laying bathroom tiles – the details that determine the final result
At first glance, laying bathroom tiles seems simple – you choose the tiles and grout, and a few days later the room is finished. In practice, this is the stage that involves the most decisions, and they have a huge impact on the final result.
One of them is how the tile layout is planned. Room dimensions rarely match the format of the chosen tiles perfectly, so right at the start you need to decide where the cut tiles will go and how to set out the whole layout so that it looks well proportioned.
Sometimes a small change is all it takes – for example, a minimal difference in grout joint width – to avoid very narrow strips of tile against the wall and achieve a far neater result.
In this article we show how such decisions affect the look of a bathroom and what to pay attention to when planning a tile layout.
1. Why a tile layout starts with planning
Most people think tiling is mainly about sticking tiles to a wall or floor. In practice, the most important part of the job starts much earlier – at the layout planning stage.
That is when we check:
- the room dimensions,
- the tile format,
- the layout of walls and corners,
- where taps, built-in units or niches will be located.
If this stage is skipped, the result is very often unsightly cuts – especially narrow strips of tile against the wall, which immediately catch the eye.
That is why a good contractor draws out the layout of the entire surface before laying the first tile.
2. A problem clients often fail to anticipate
A bathroom rarely has dimensions that match the tile format perfectly.
If a tile is, say, 60 cm wide and the wall is 248 cm, there is a problem – at the end of the layout there is a gap that has to be filled with something.
The worst solution is very narrow cuts, for example:
- 2–3 cm,
- thin strips at a corner,
- uneven ends of the layout.
Such elements are not only less attractive, but also harder to cut and more prone to damage.
That is why we often look for solutions that make it possible to distribute the tile layout better across the whole wall.
3. A small trick that can save the whole layout
One method is a minimal change in grout joint width.
At first glance, most people will not notice the difference between a 2 mm and a 3 mm grout joint.
However, across several rows of tiles such a change can give a few extra millimetres of leeway across the whole wall.
In practice, this means that instead of a very narrow strip of tile at the edge, you can achieve a much better proportioned end to the layout.
Sometimes a solution is also used in which:
- the horizontal joints are slightly wider,
- and the vertical joints remain narrower.
This allows the tile layout to be matched very precisely to the dimensions of the room.
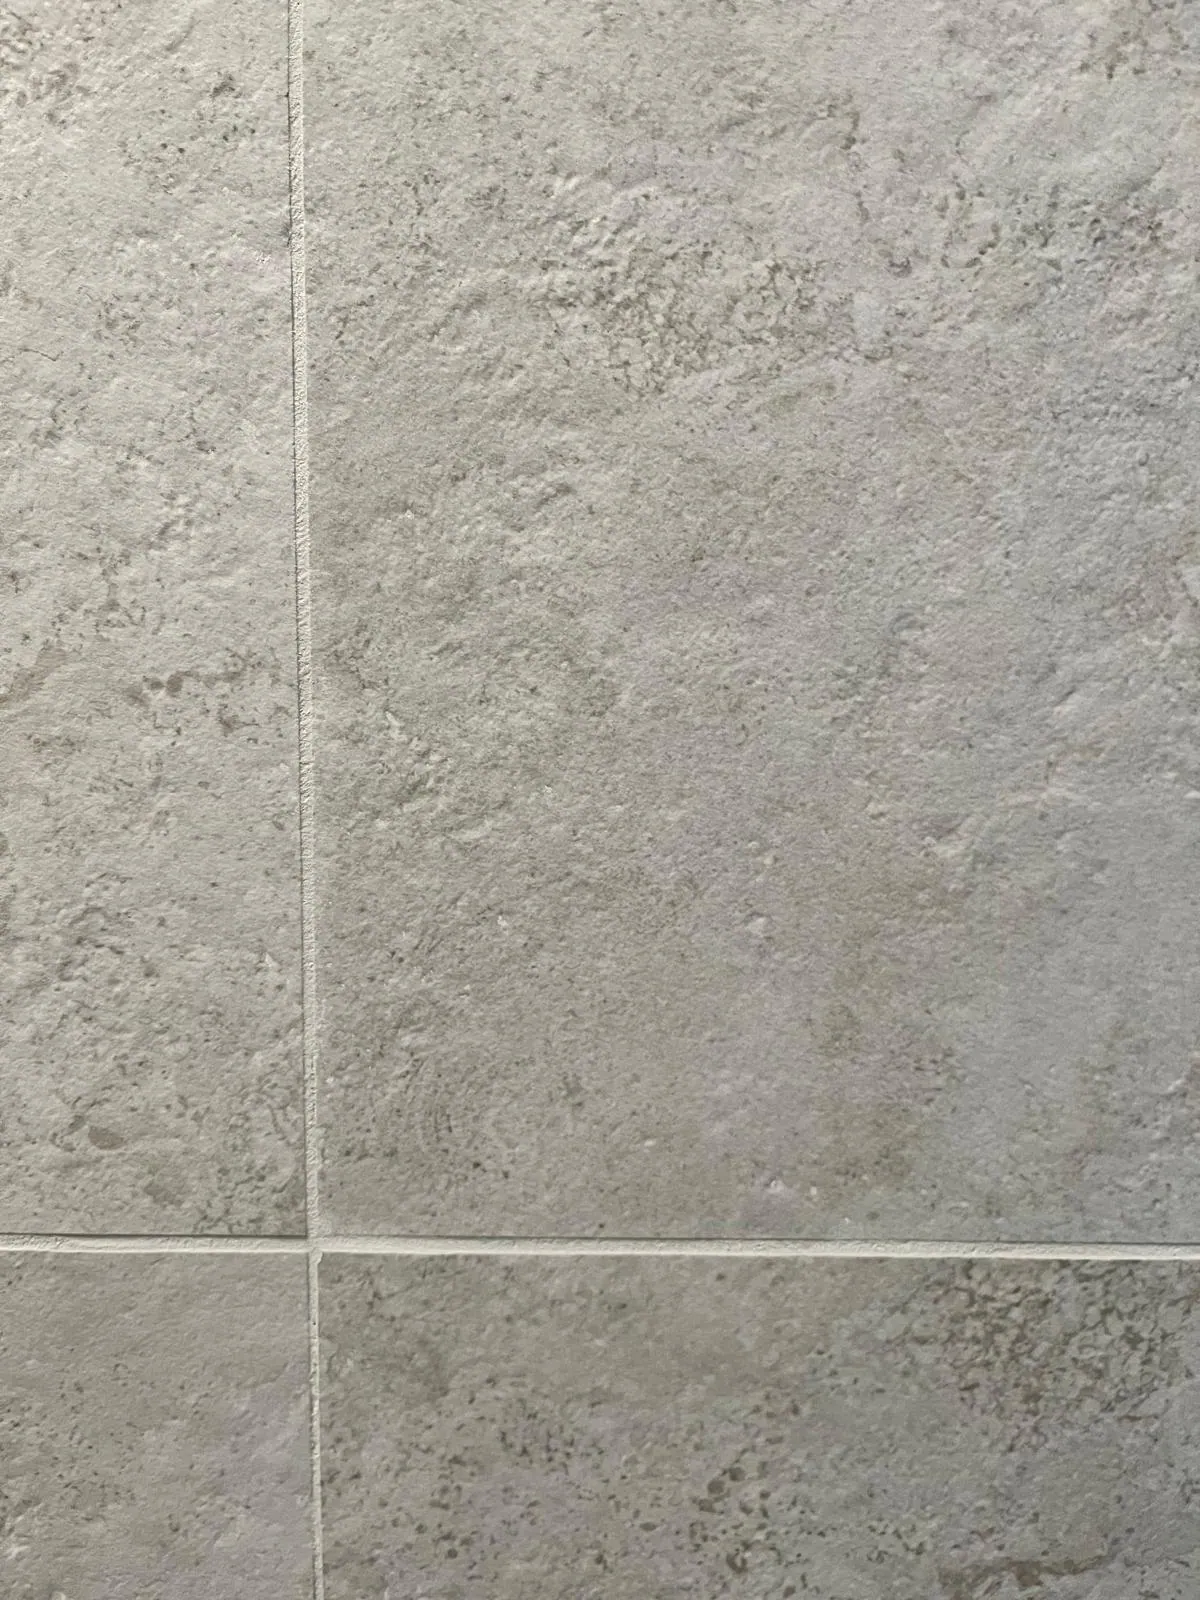
4. Is a different grout joint width visible?
In a well-executed project the difference is usually very subtle.
If we are talking about a change of around 1 millimetre, most people will not notice it without looking closely at the wall.
The final visual effect, however, is much better, because:
- we avoid random narrow cuts,
- the tile layout looks better proportioned,
- the whole thing looks more carefully considered.
It is one of those details that often sets a well-planned project apart from a haphazard tile layout.
5. The point that gives away the quality of workmanship
There is one more place that very quickly shows whether the tiles have been laid carefully.
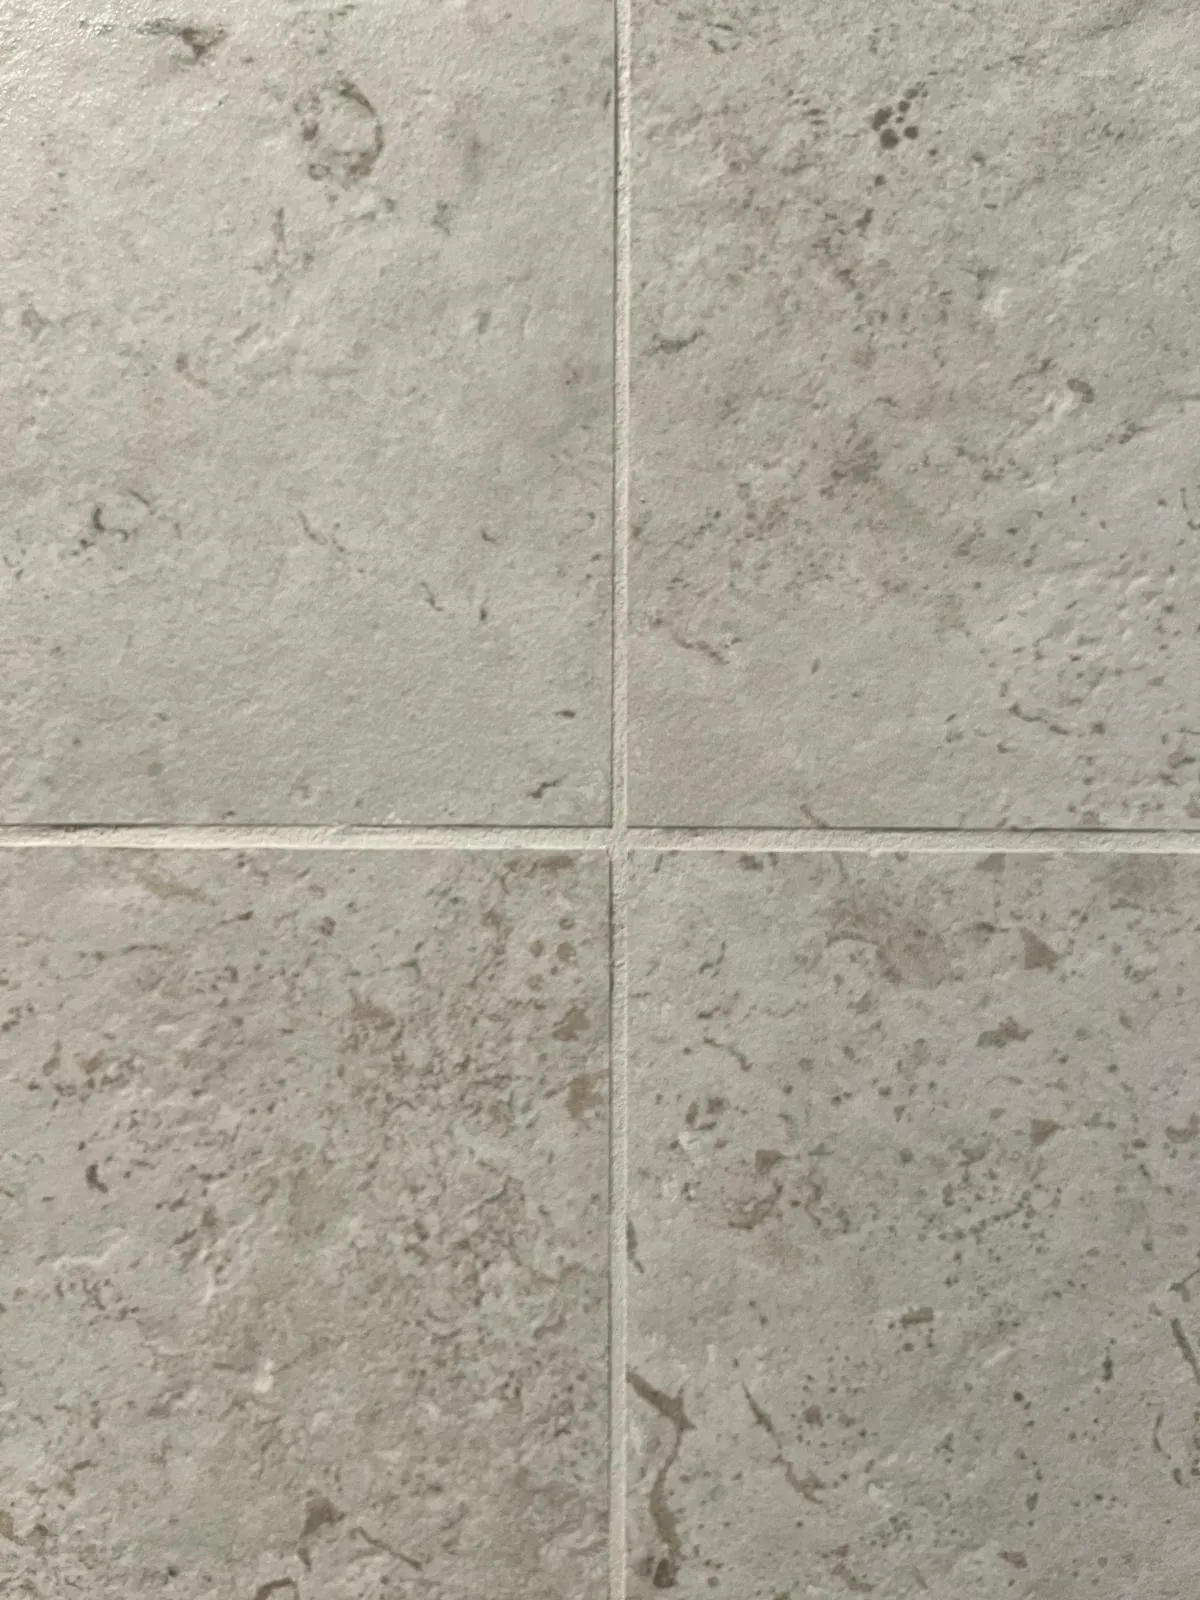
It is the point where four grout joints meet.
In a well-executed layout, all the joints meet at a single point and have an even width.
If there are offsets or irregularities at this point, it usually means the tiling was done without careful control of lines and spacing.
It is a detail clients rarely pay attention to when signing off the work, yet it says a great deal about the quality of workmanship.
6. The most common mistakes when tiling a bathroom
In many bathrooms, problems with the tile layout stem not from the workmanship itself, but from the lack of a plan beforehand. Tiling starts from one of the walls, and only during the work does it turn out that a few centimetres of space are left at the end.
That is exactly when solutions appear that spoil the final result.
The most common mistakes are:
Very narrow cuts against walls
Strips just a few centimetres wide are difficult to cut and usually look accidental.
Lack of symmetry in the layout
If one side of a wall ends with a large tile and the other with a thin strip, the whole thing looks inconsistent.
Random changes in grout joint width
Grout should be a controlled element. If its width varies from place to place, the lack of precision is immediately visible.
Failure to align with fixtures and fittings
Sometimes a grout line falls right in the middle of a tap, a niche or a flush button. In a well-planned layout, such elements are taken into account much earlier.
That is why good tiling starts not with adhesive, but with carefully drawing out the whole layout.
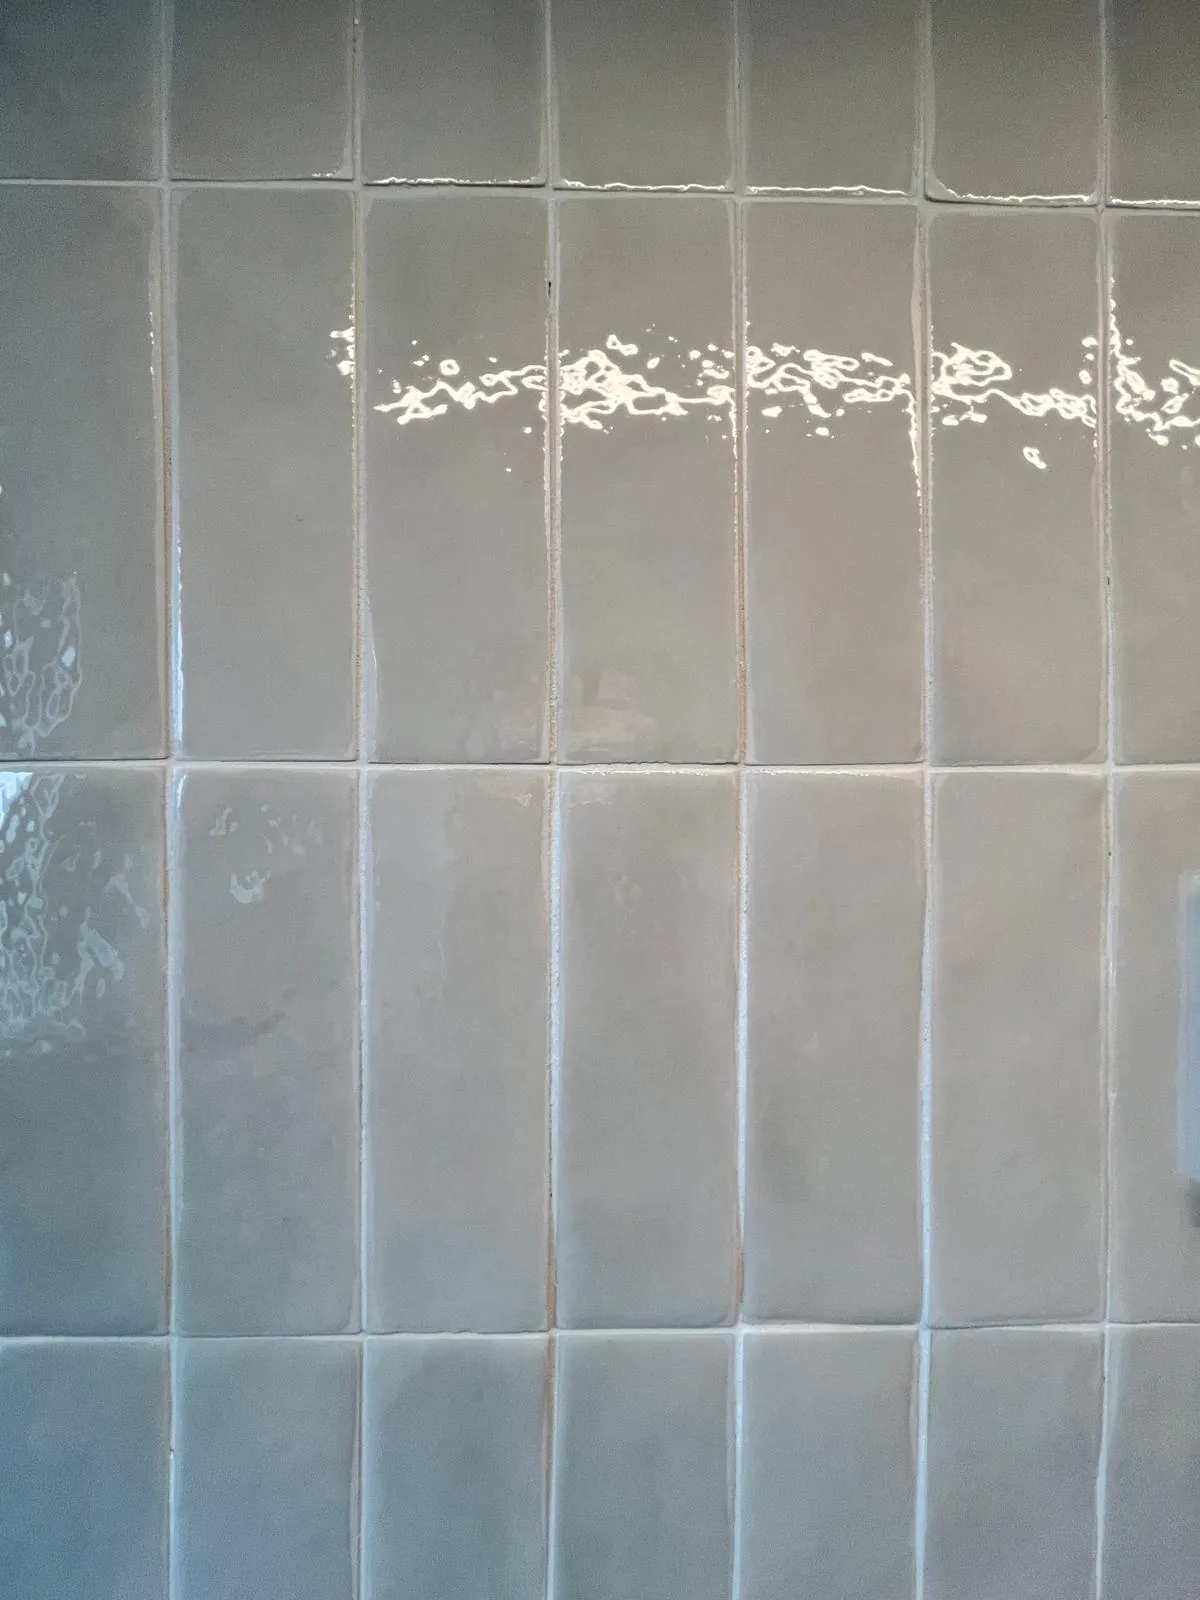
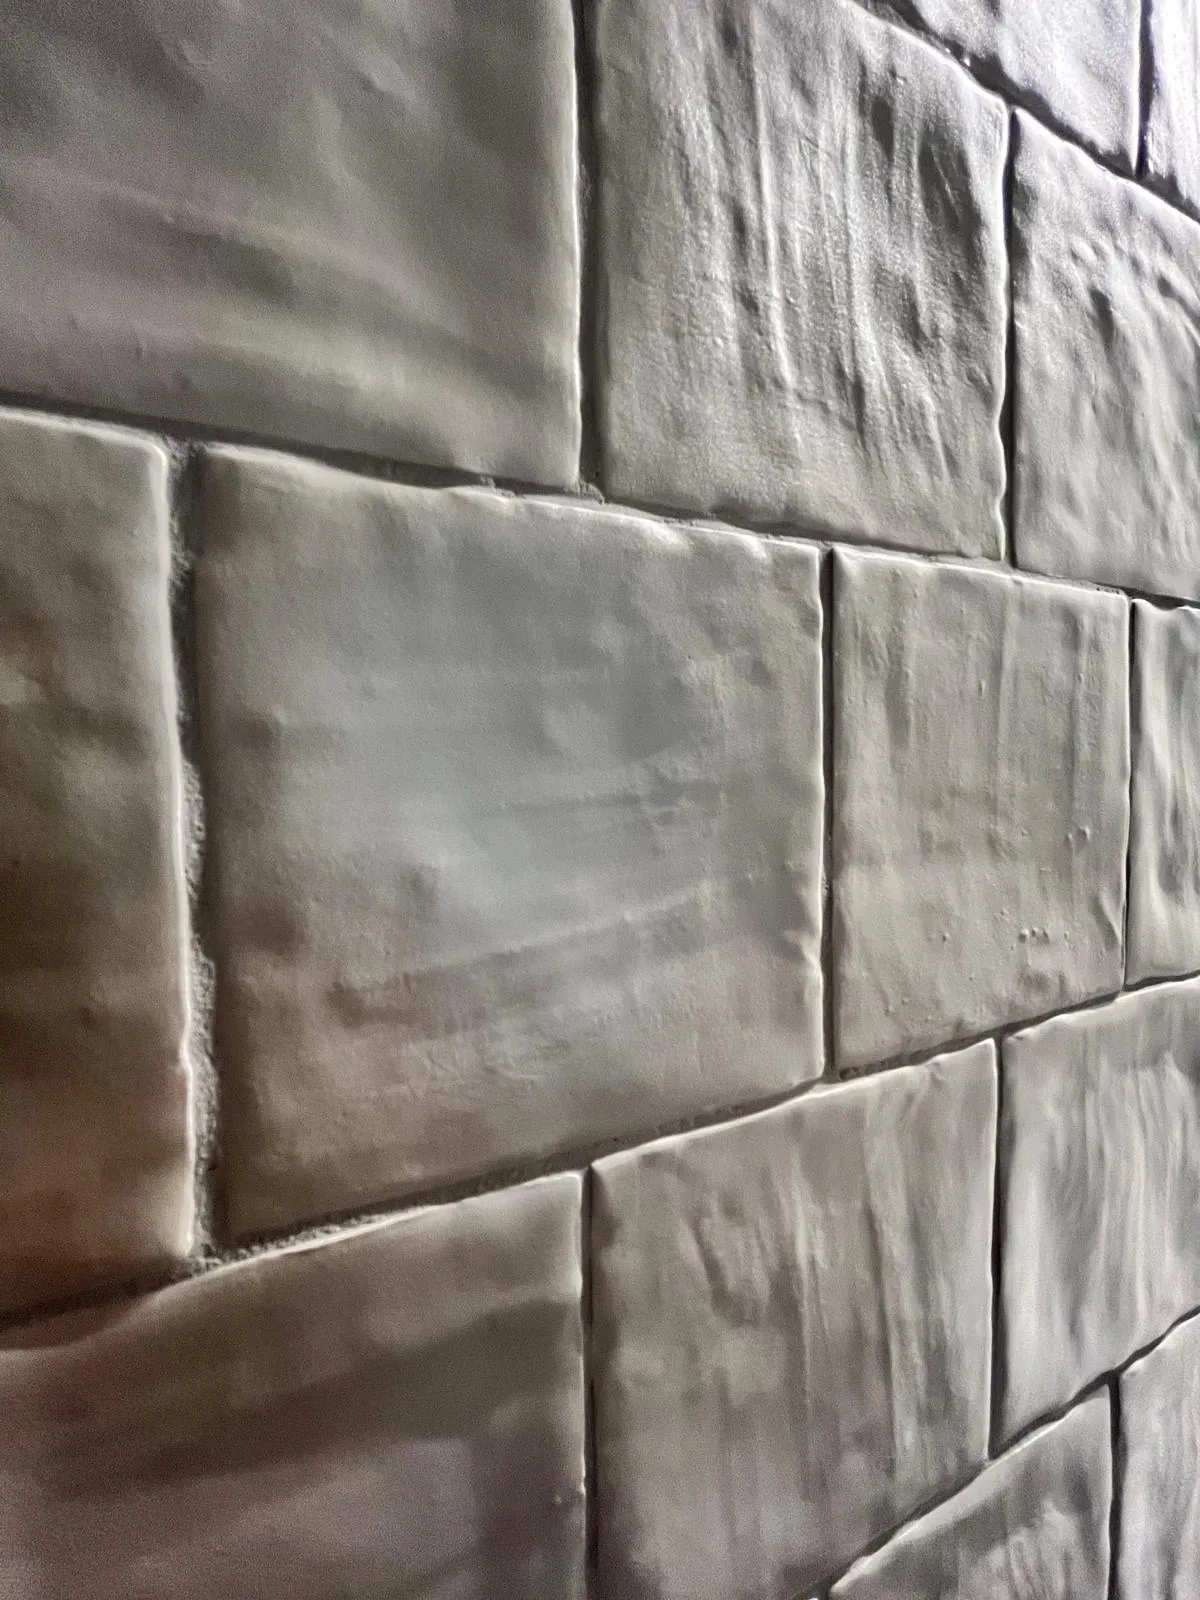
7. Should tiles always be laid from the centre?
You often hear that tiles should always be laid symmetrically from the centre of the wall or room. In practice, this is not always the best solution.
Symmetry does work well in many situations – especially on large, highly visible surfaces. In a bathroom, however, other elements are often more important:
- the line of the bath or shower tray,
- the centre of the washbasin,
- shower niches,
- built-in furniture.
That is why a good tile layout is often designed in relation to the most important fixtures and fittings, not just the centre of the wall.
As a result, a grout line might, for example, fall exactly on the axis of the tap or sit symmetrically in relation to the shower niche. To the user’s eye, this matters far more than the geometric centre of the room.
Get in touch and we will take care of the tile layout in your bathroom – RENOVATION / INTERIOR FINISHING
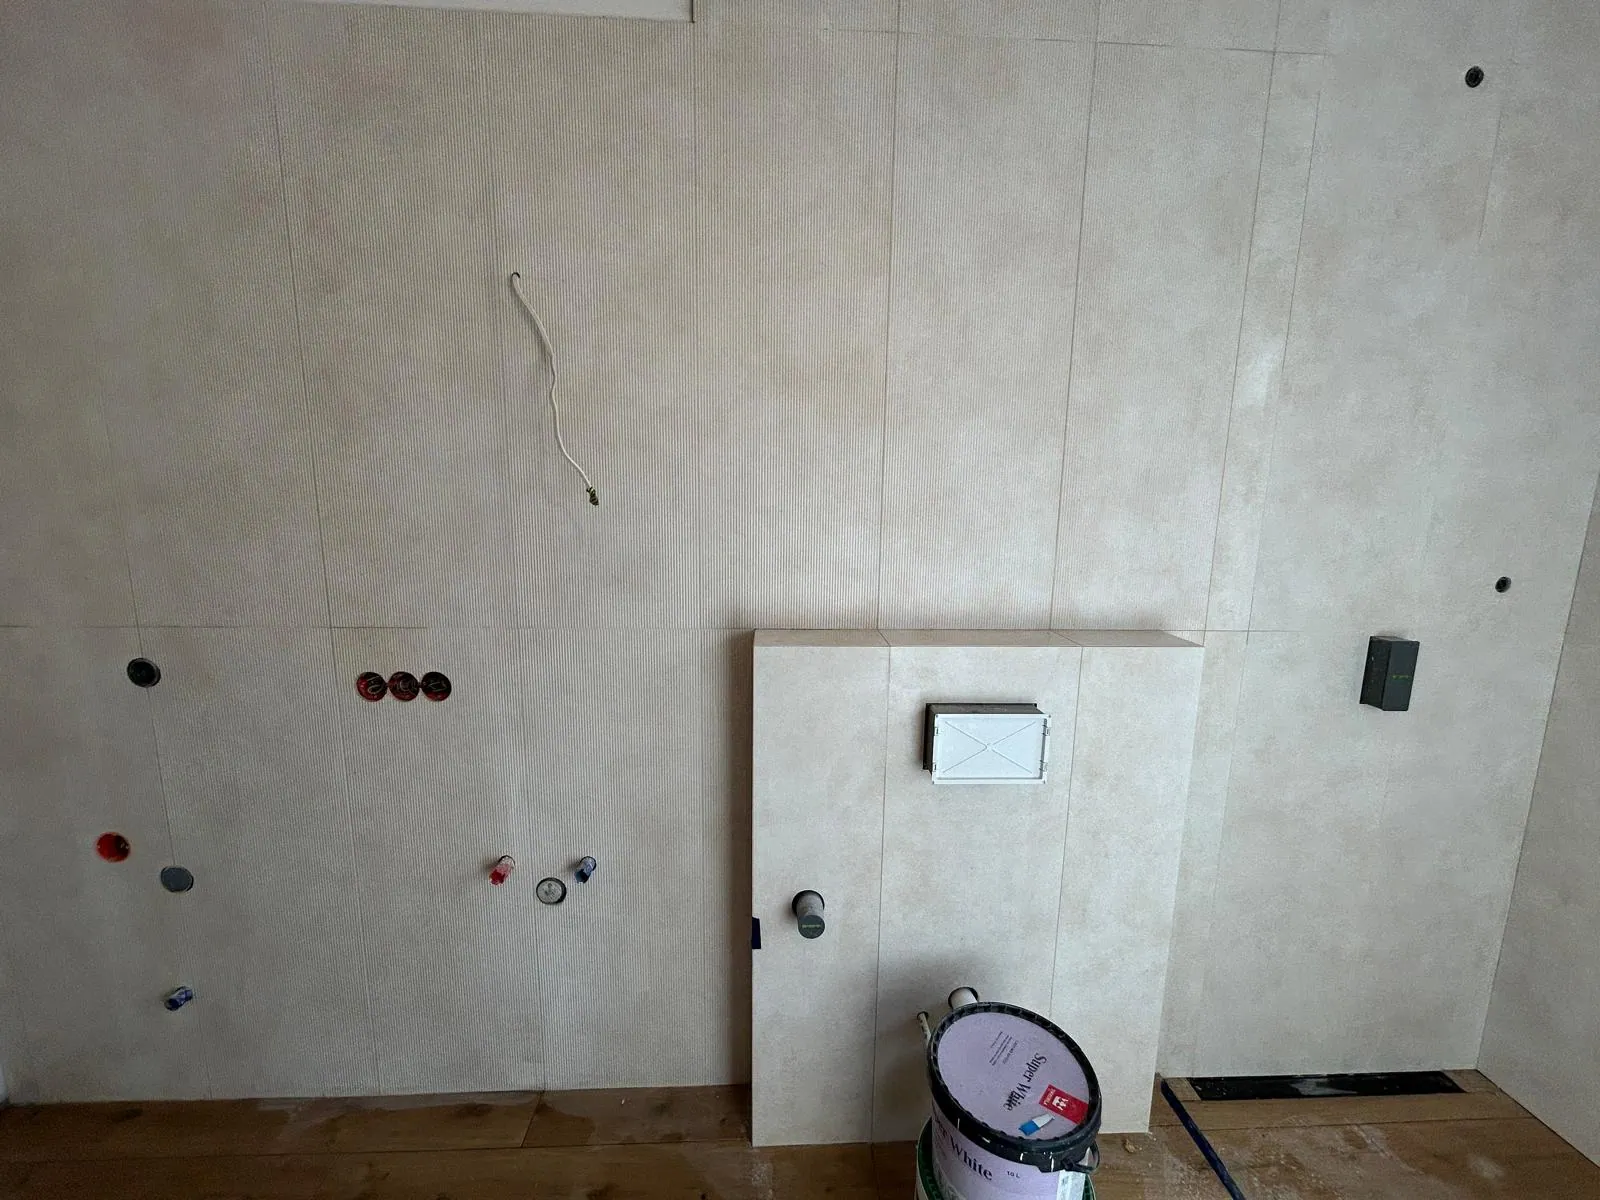
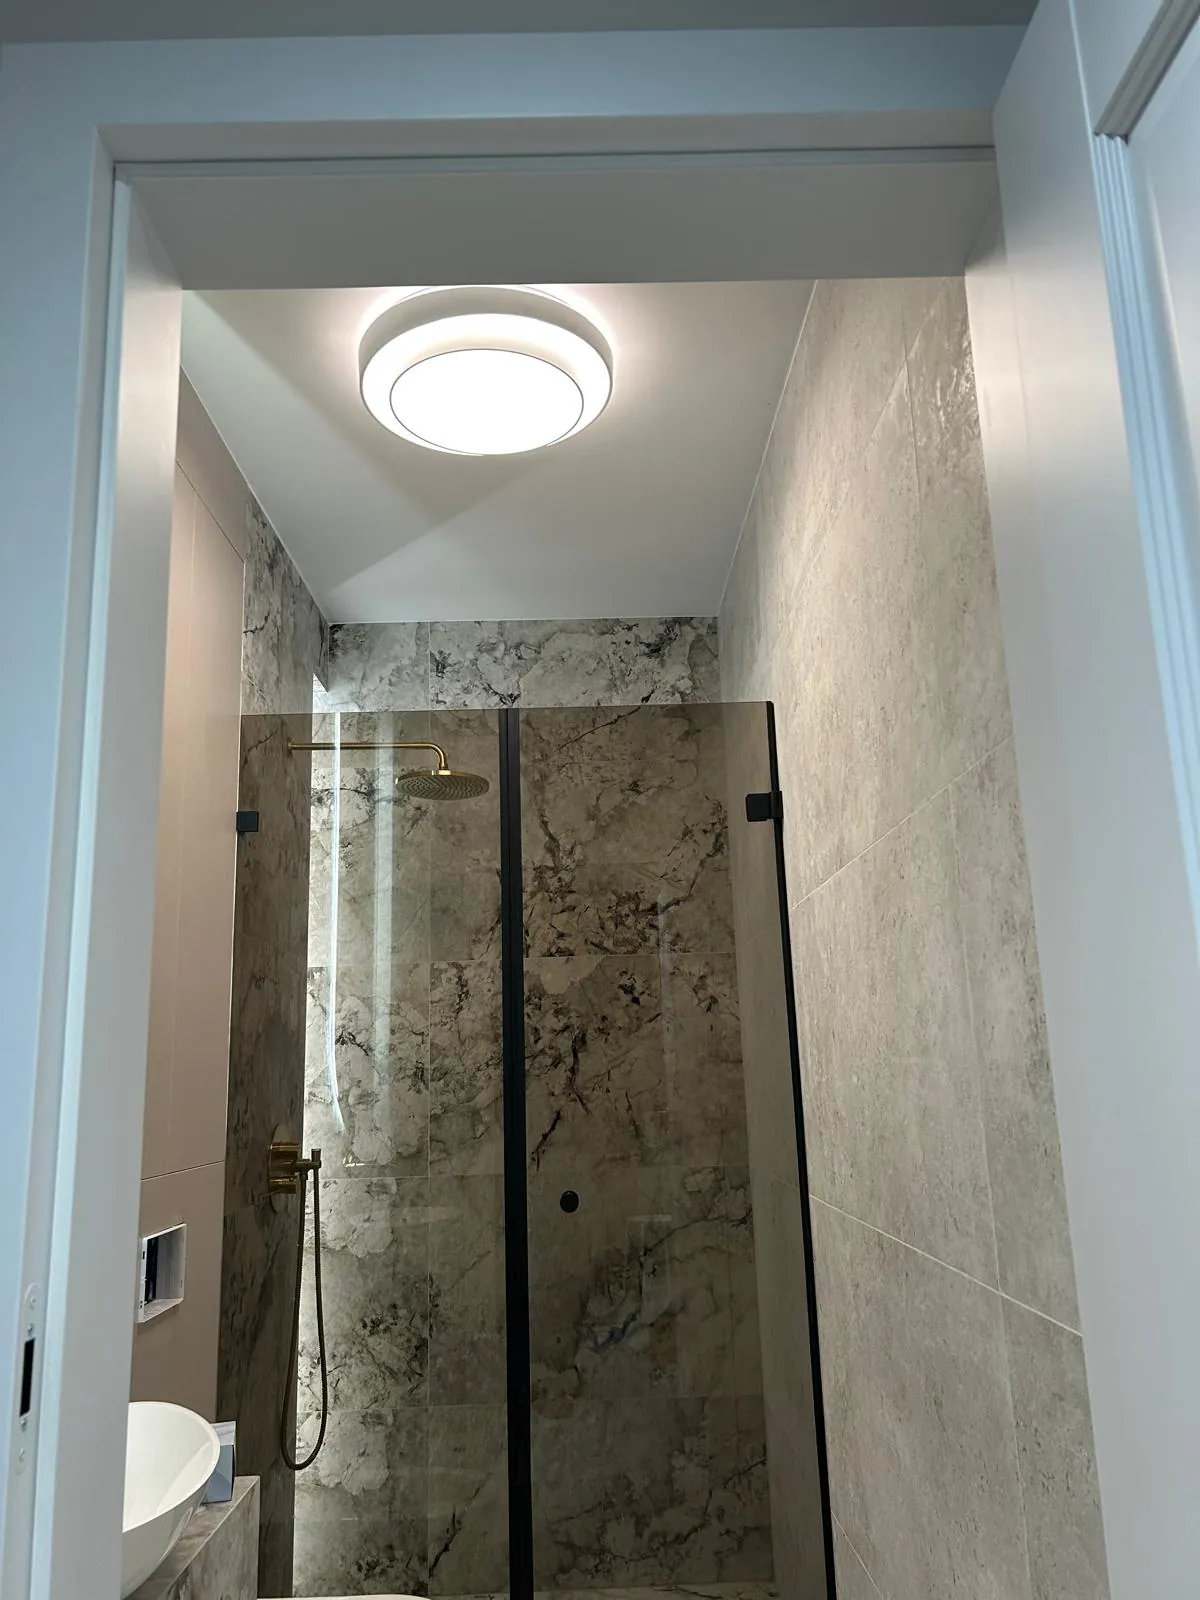
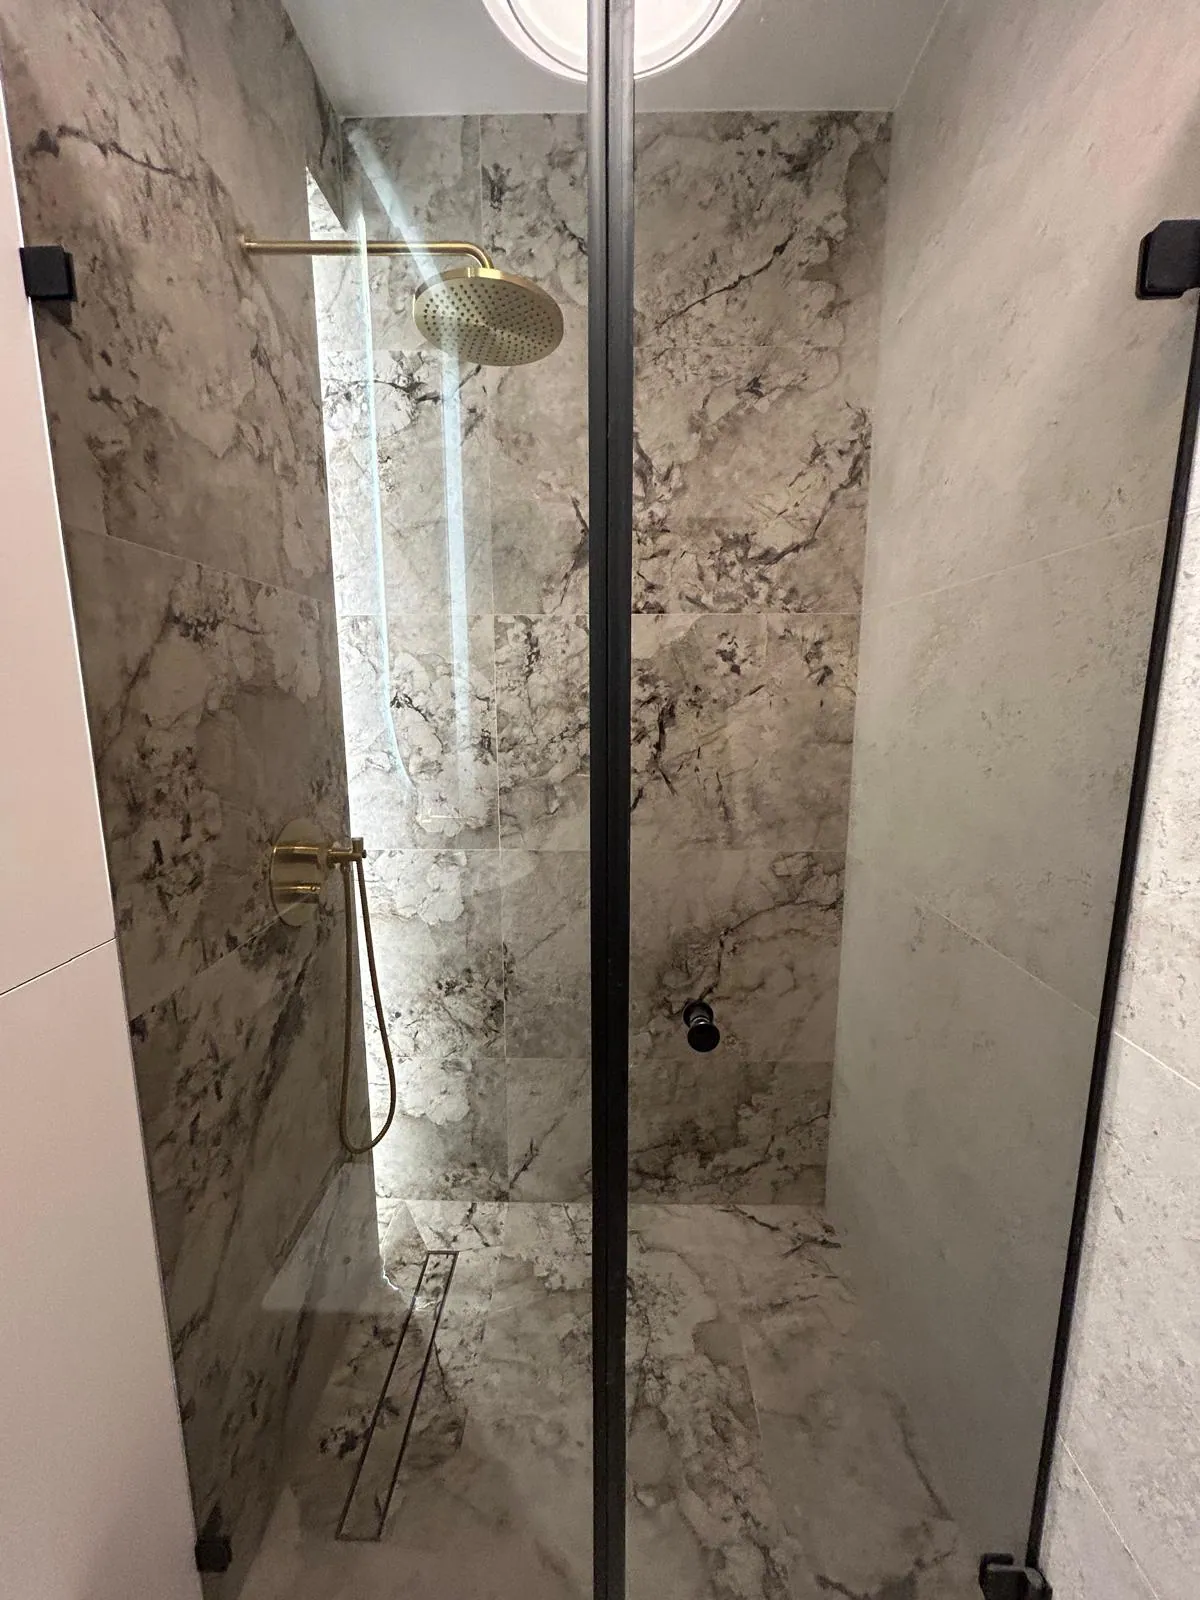
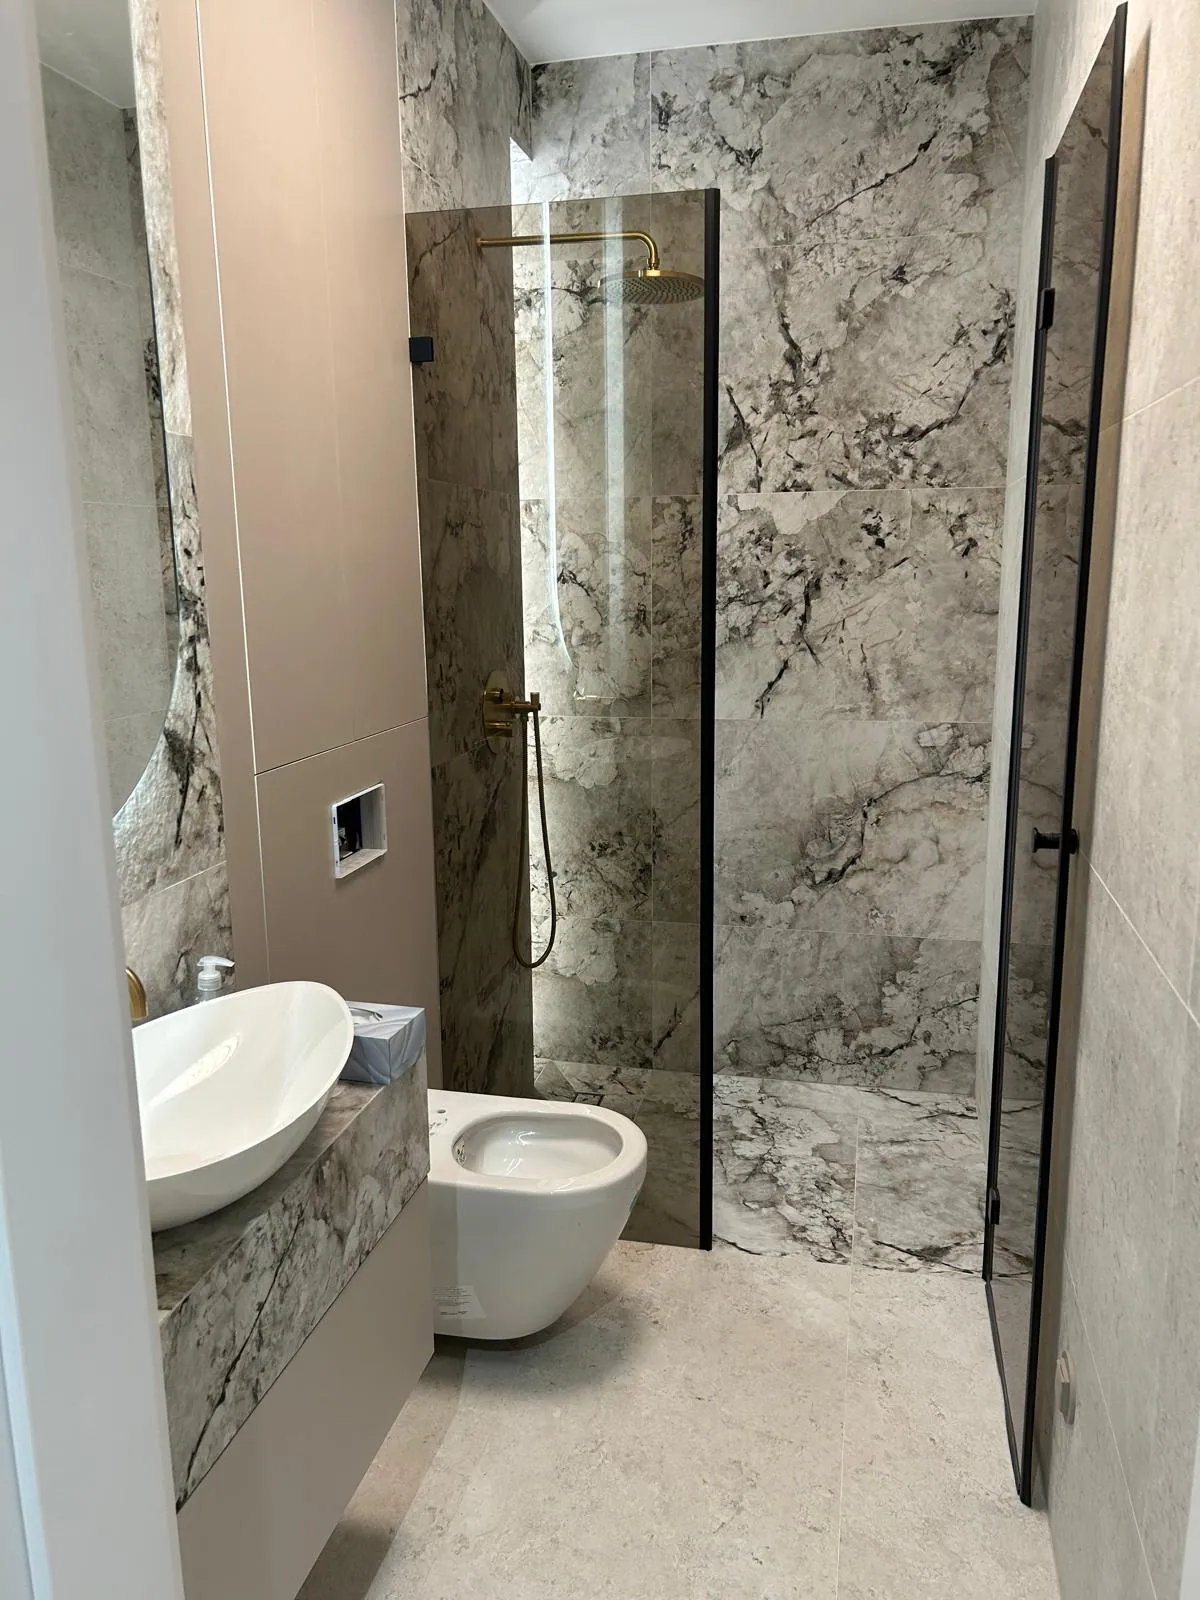
8. How the tile layout is planned around the bath and shower
The bath or shower area requires particular attention. This is where your eye is usually drawn when you enter the bathroom.
When planning the layout, we take into account, among other things:
- the height of the bath or shower tray,
- the line of the taps and fittings,
- niches for toiletries,
- any shelves and built-in units.
The aim is often for the horizontal grout lines to form a coherent layout with the fixtures. This makes the wall look harmonious and the tiles appear tailored to the whole space.
This is also when a decision is made on any adjustment of the grout joint width or shifting the layout by a few centimetres to avoid unsightly cuts.
9. Why tile format matters so much
In recent years, large-format tiles have become increasingly popular – 60 × 60 cm, 60 × 120 cm or even larger.
They look very striking, but at the same time they require much greater precision when planning the layout.
The larger the tile, the harder it is to fit it to the room’s dimensions without cuts. In small bathrooms this may mean having to cut many pieces.
That is why, when choosing a format, it is worth considering:
- the size of the room,
- the layout of the walls,
- the position of fixtures and fittings.
Sometimes a smaller tile format allows you to achieve a much better proportioned and calmer visual effect.
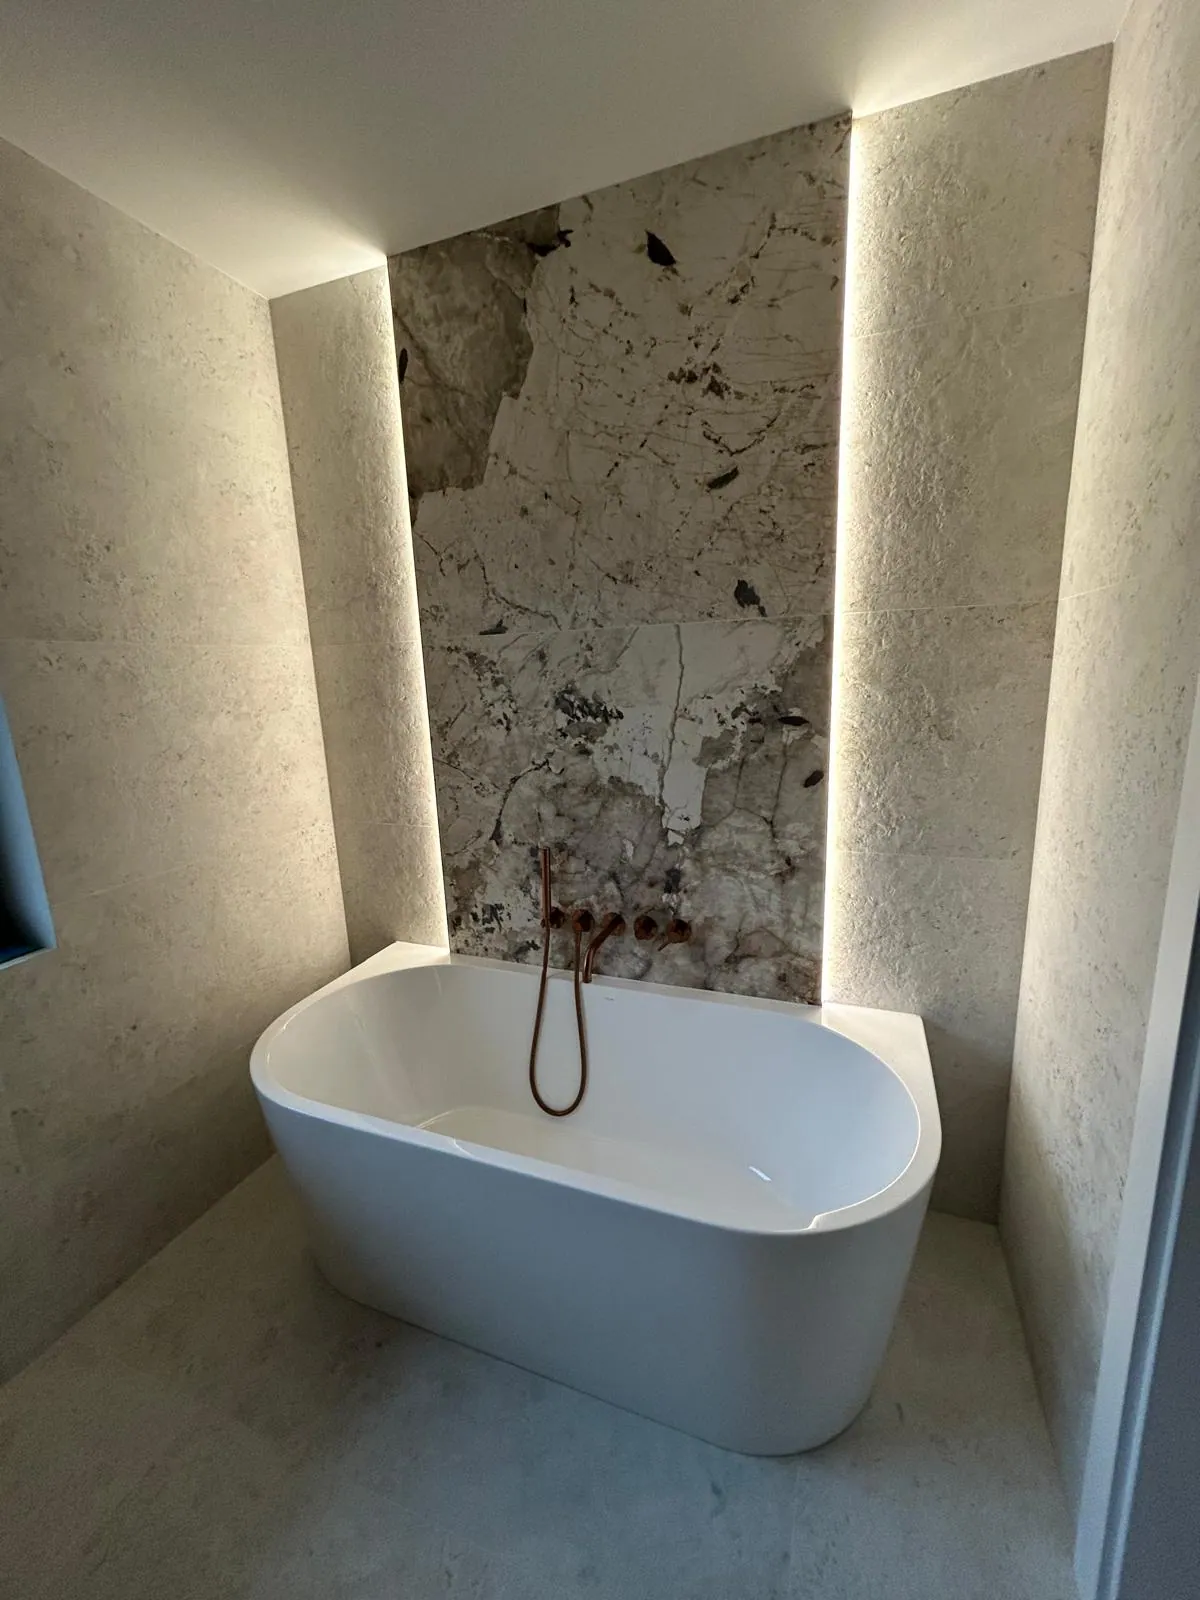
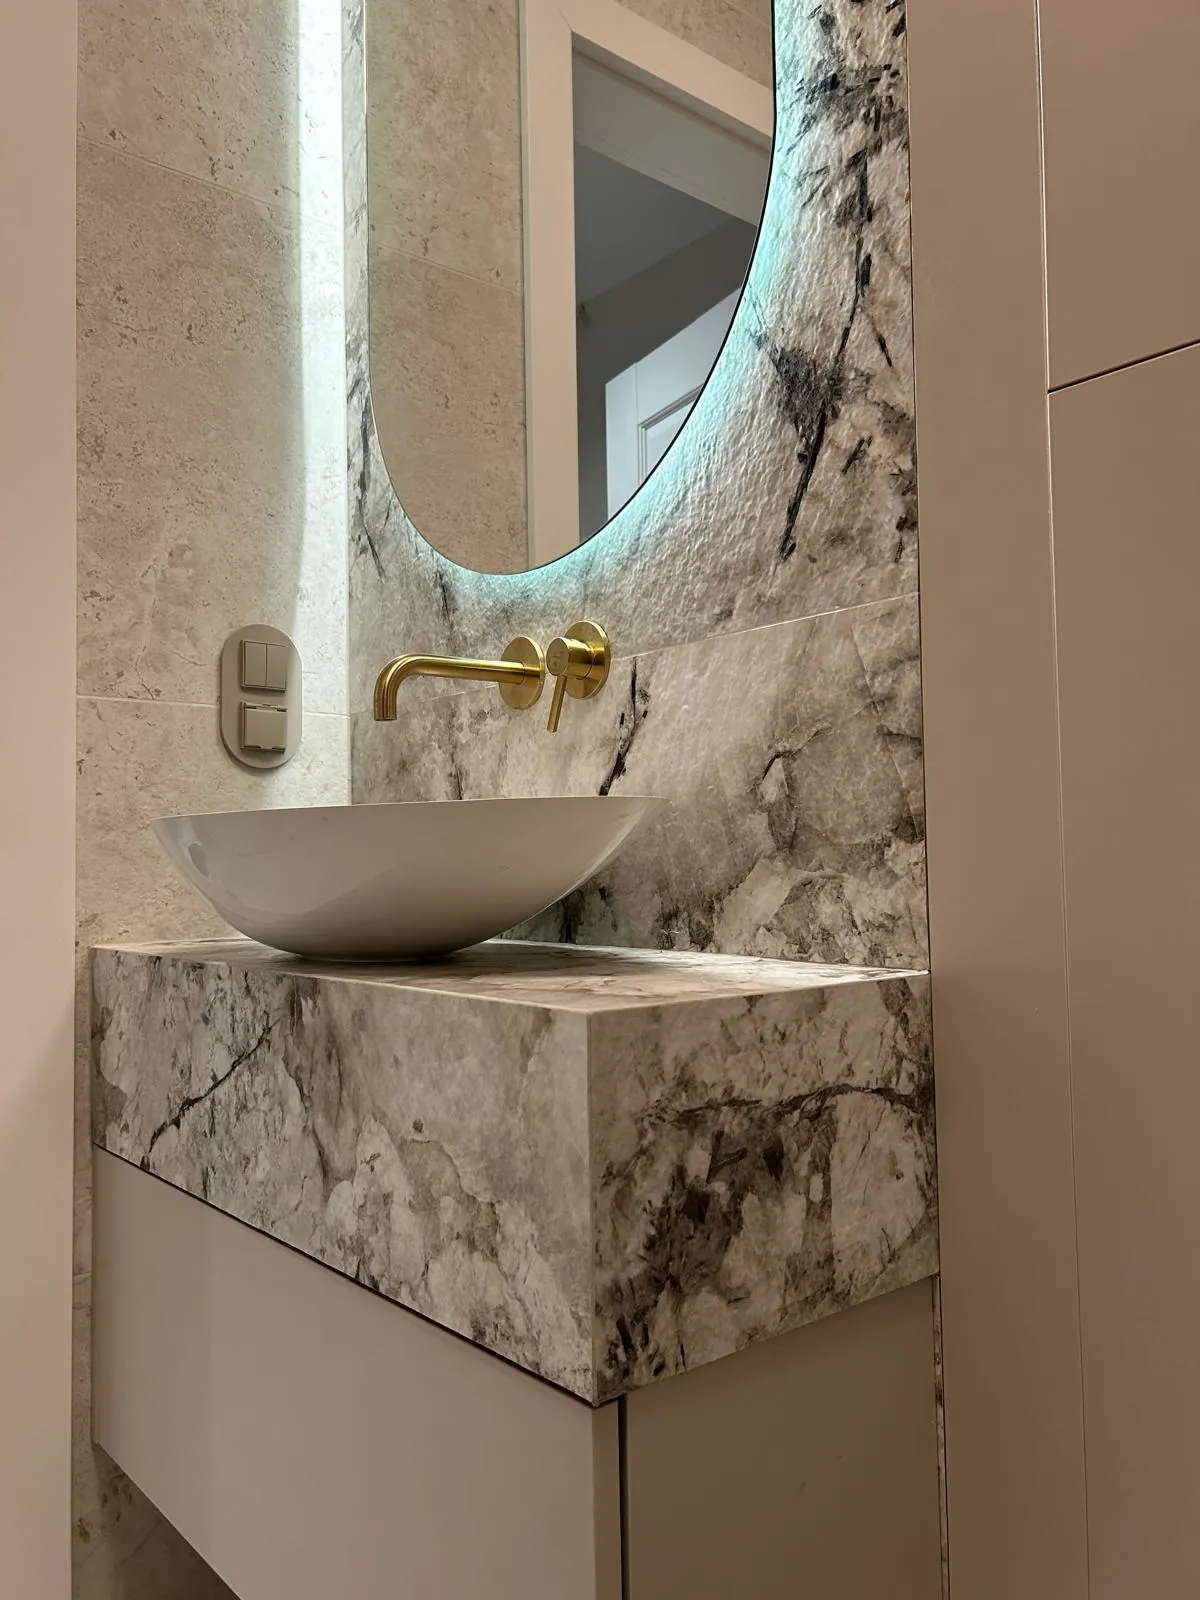
If you would also like beautifully laid tiles like these – get in touch with us 😉 CONTACT
10. The details that make the biggest difference in a bathroom
The final look of a bathroom is often shaped by small things that are not visible at first glance.
These include:
Straight grout lines
They should guide the eye naturally and form a coherent layout across the whole wall.
Well-planned cuts
If they are necessary, they are best placed in less visible areas.
Precise corners
Accuracy is particularly important with rectified tiles.
Alignment with bathroom fixtures
Grout lines, niches and fittings can form one coherent arrangement rather than looking like randomly assembled elements.
It is details like these that make a bathroom look polished, even if the materials used are relatively simple.
Summary
With bathroom tiles, it is the details that decide whether an interior looks average or appears refined down to the last detail.
The width of the grout joints, how the cuts are planned, the lines running across the whole wall and how the layout is aligned with the fixtures – all of these matter, even if they are hard to notice at first glance.
That is why good workmanship begins before the first tile goes on the wall. Planning the layout carefully helps avoid many problems and ensures the bathroom looks coherent and attractive for many years.
It is these small decisions that often make the biggest difference to the final result.
FAQ – the most common questions about laying bathroom tiles
1. How wide should the grout joint between tiles be?
The width of the grout joint depends primarily on the type and format of the tiles. Rectified tiles are usually laid with a 1.5–2 mm joint, while standard tiles typically use 2–3 mm. In practice, the joint width can also be adjusted slightly to fit the tile layout to the room’s dimensions and avoid very narrow cuts against the walls.
2. Can different grout joint widths be used in one room?
Yes, in some situations this is a deliberate technique. A small difference – for example 1 mm – between the horizontal and vertical joints can help fit the tile layout to a wall or floor. This helps avoid narrow strips of tile, which often spoil the look of the whole surface.
3. Where does laying bathroom tiles begin?
The work usually begins with careful planning of the layout. The room dimensions are checked, the axes of symmetry are set and the locations of the cuts are determined. Only after this preparation can the tiles be fixed – usually starting from the most visible wall or from the room’s axis.
4. How can you avoid very narrow strips of tile against the wall?
The best way is to plan the tile layout in advance. Sometimes it is enough to shift the layout by a few centimetres or slightly change the width of the grout joints. This way, the cuts on both sides of the wall can be of similar width and the whole thing looks much better proportioned.
5. Are tile cuts always visible?
Not always. A well-planned layout means the cuts end up in less visible places – for example by the door, in corners or behind built-in furniture. In many cases, the tiles can also be set out so that the cuts are symmetrical on both sides of the wall.
6. Does the tile layout need to be planned before work starts?
Absolutely. Planning the layout is one of the most important stages of a tiler’s work. It makes it possible to anticipate where cuts will fall, adjust the joint width and check how the tiles will sit in relation to fixtures such as the washbasin, bath or shower enclosure.
For more tips, visit OBI – tiling guide or flooringclarity.